In our Previous Article, , We spoke about the basics of the program. Here we’ll briefly touch on some of the advanced features that we were able to edit using the APSTel Visual Dialplan professional program. Remember, you can use these diagrams on our sister site, Rate My Dialplan.com.
If you’d like to download APSTel Visual Dialplan Professional or Standard edition to give it a try yourself, please use these links.
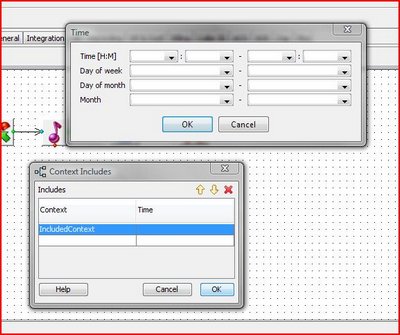
While creating the visual Asterisk Dialplan, you can include multiple contexts that you have setup elsewhere, and you can also modify time conditions for said included contexts. We found this interface easy to use, and easy to get to. This may be a little daunting for beginners, but it’s by no means impossible to figure out.
Here you see the include context windows, and the time conditions menu available for the included contexts, pretty nifty.
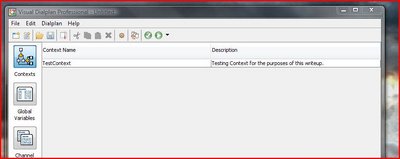
Back in the main interface of the program, after we’ve saved our Asterisk Dialplan we can see the “TestContext” context in the contexts screen of Visual Dialplan Professional. This is where your contexts will be displayed for you to see the flow of them, and to easily click on any of them to edit them. We found this intuitive and easy to understand.
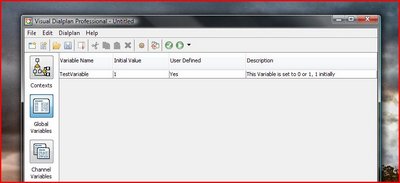
Clicking down to the Global Variables window, this is where you would set any specific variables you need for your Asterisk Dialplan. Below we’ve created a basic sample to show what it looks like, remembering to delete it because it’s obviously not valid and will break the Asterisk Dialplan validation when we go to upload it. This was easy to follow and made sense to us in terms of user interaction and usage.
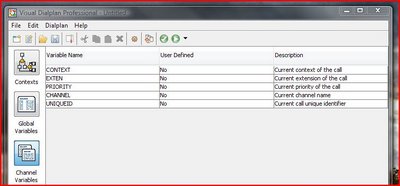
Following the Global Variables window is the Channel Variables window. This is where some of the default channel values are set, and can be added on to. These don’t need to be edited unless you know what you’re doing. We left this alone for our sample context and Dialplan.
Here is a sample screenshot of the Channel Variables window in APSTel Visual Dialplan.
The last and final window available is the Macros window. This is where you would setup any Macros for use in your Asterisk Dialplans. Creating the Macros’ can be a little daunting, and we’d recommend it to people with previous experience with Asterisk Dialplan Creation.
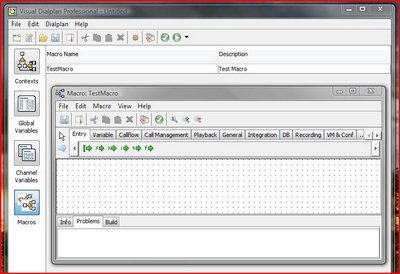
Here’s a Screenshot of the Macro Window, and Visual Context Creation for said Macro. The options can be a little confusing, so take your time or ask an experienced Asterisk Technician about this one.
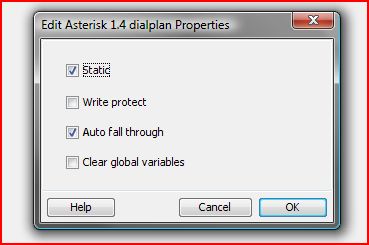
Editing your Asterisk Dialplan Properties can also be configured from the menu if you desire. Simple click the Properties option and you can enable basic features or disable them. The defaults are fine, we didn’t have to touch this, and like it that way.
Stay tuned for the next article in the series where we’re going to discuss deploying your Asterisk Dialplan to your remote Asterisk Server using APSTel Visual Dialplan Professional. Don’t forget to upload your Asterisk Dialplan to Rate My Dialplan.com .
If you’d like to download APSTel Visual Dialplan Professional or Standard edition to give it a try yourself, please use these links.