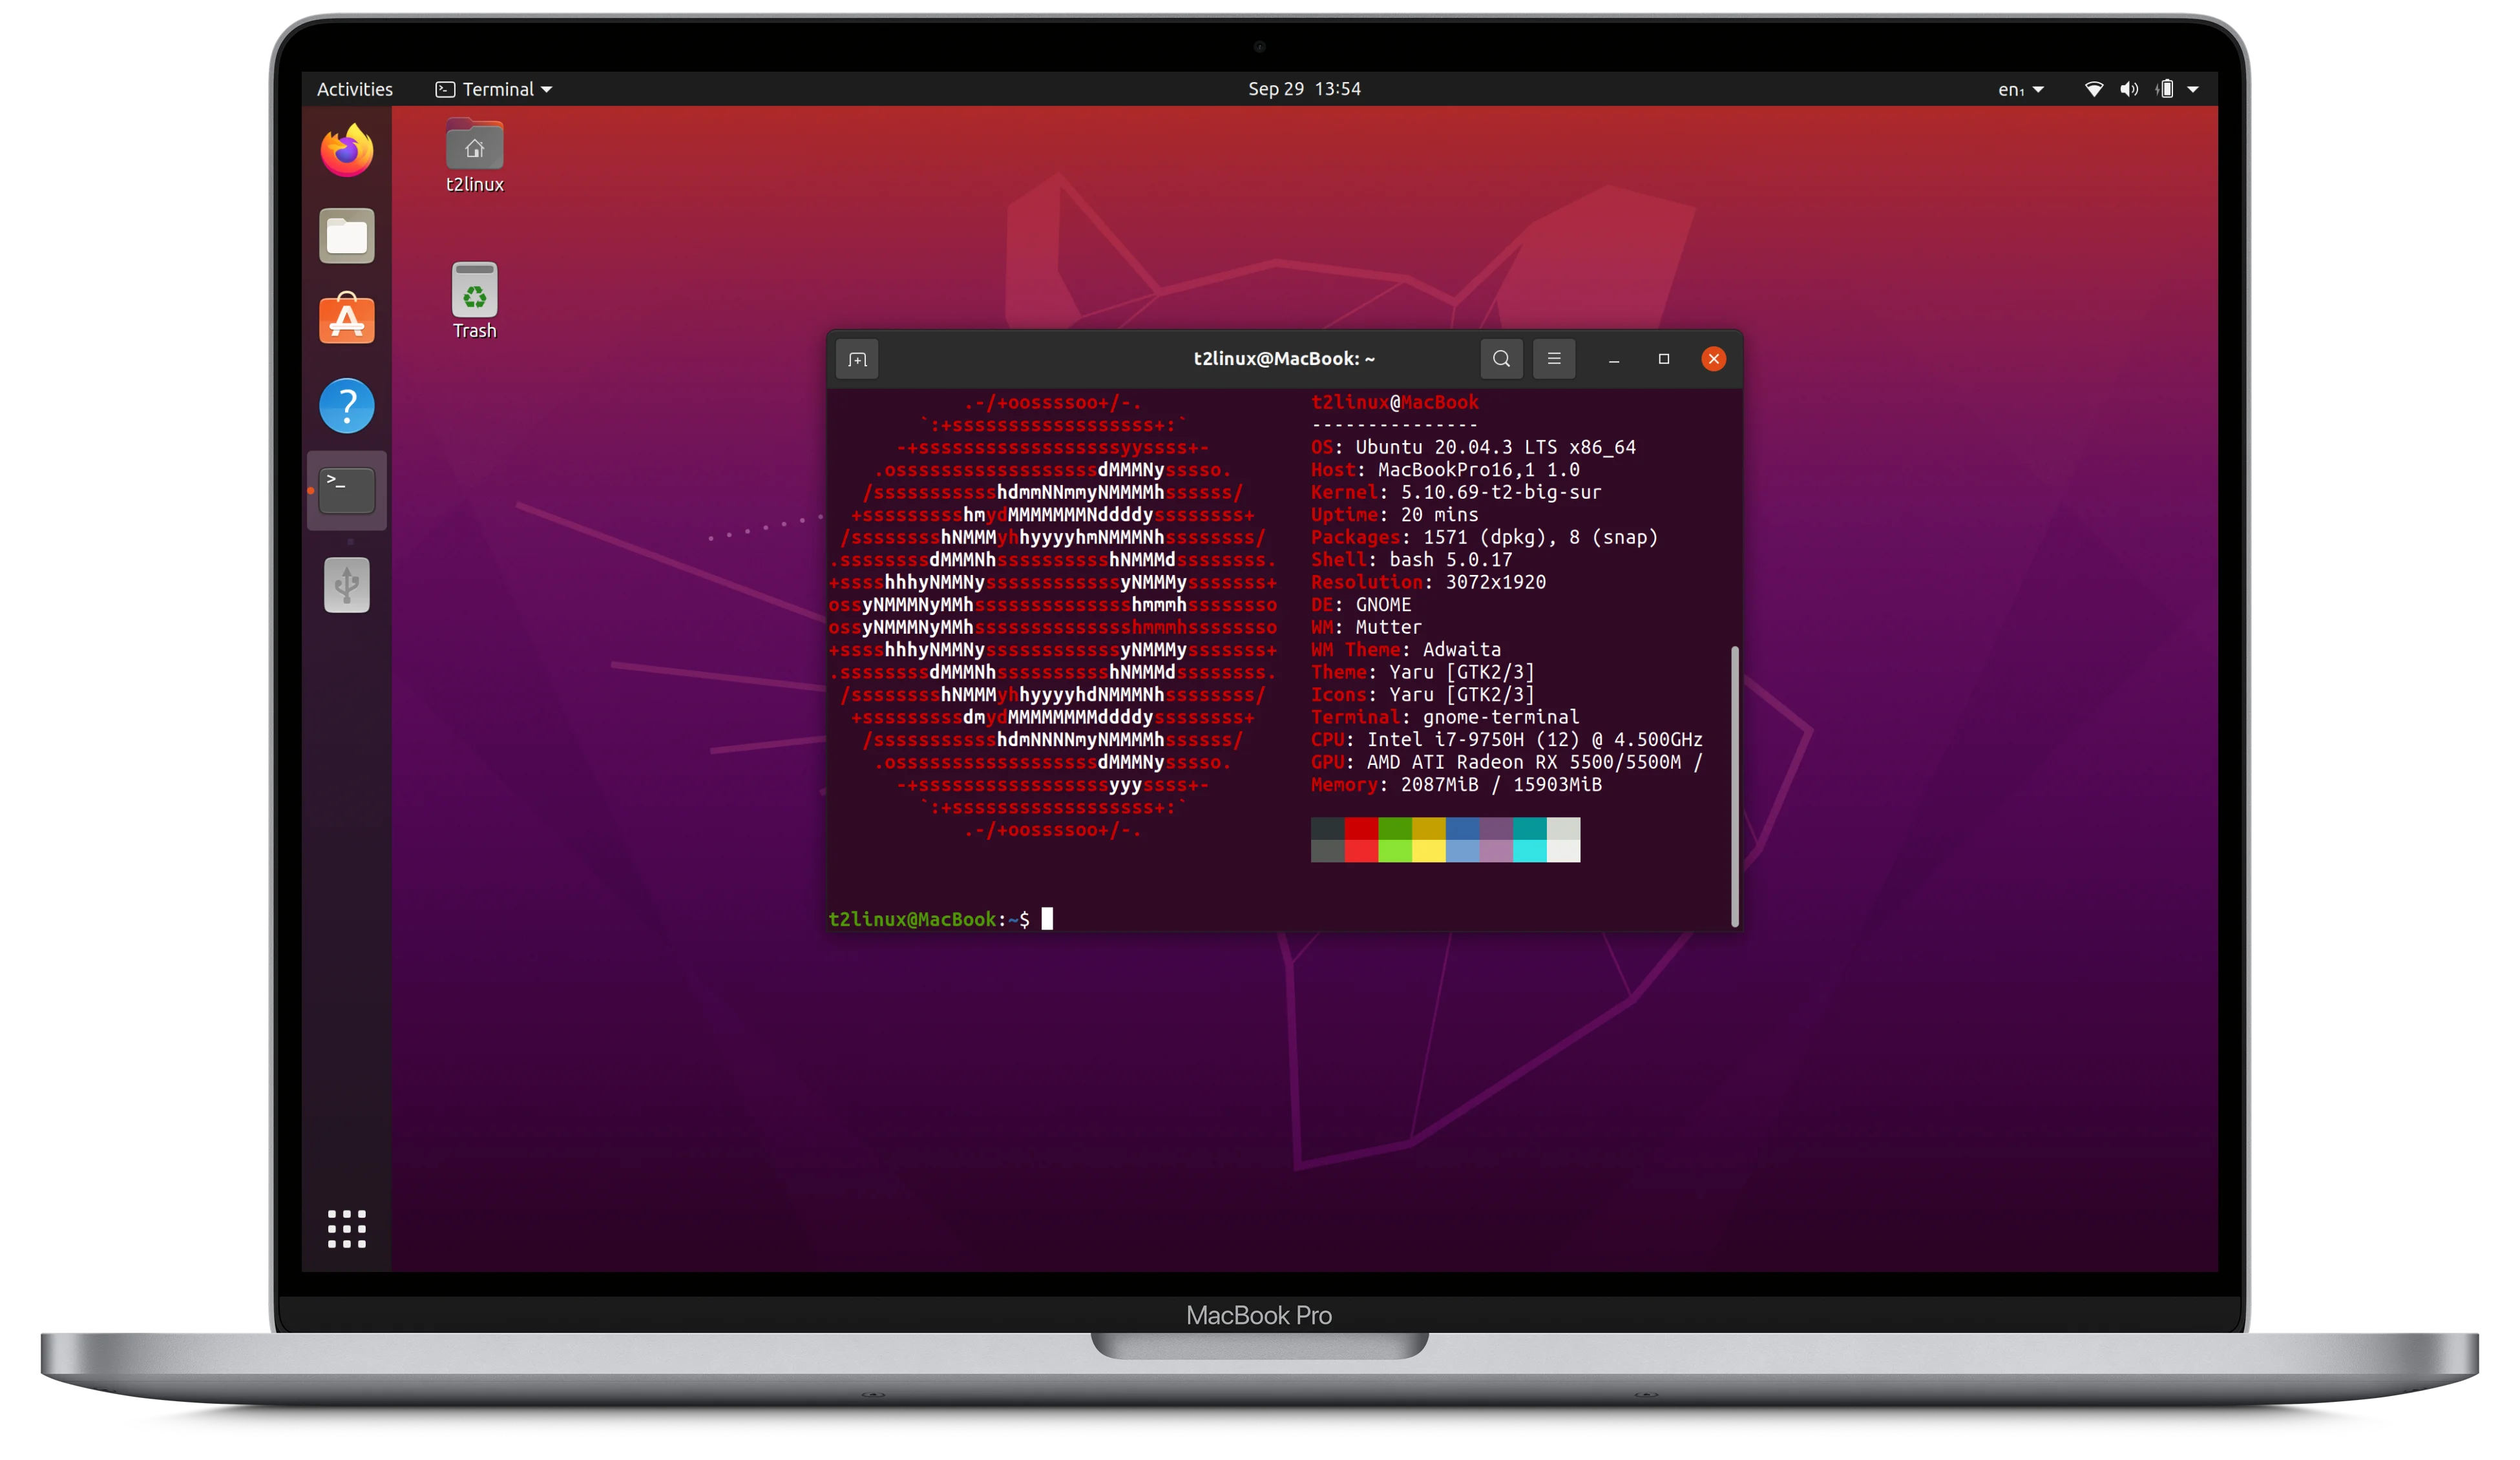
The other night I was bored and decided that since I’ve been using Arch as my daily for several months now only going to Mac if I need to use Affinity products (shakes fist no Linux versions!!) it was time to get this running on my laptop.
I Have a 2019 Macbook Pro (MacbookPro,16,1), with 2TB hdd, and 64gb of ram so it’s plenty powerful and has enough space for MacOS and Arch to co-exist nicely.
The install is not as straight forward as it is on regular hardware, of course, so I thought I’d document this for anyone else wanting to do this.
References:
- https://wiki.archlinux.org/title/mac
- https://wiki.t2linux.org/distributions/arch/installation/
- https://wiki.t2linux.org/guides/postinstall/
- https://wiki.archlinux.org/title/Installation_guide
Tools you’ll need:
You have to do a couple things in MacOS.
- Disable Security and allow Booting USB Instructions Here
- Disable Disk Encryption / File Vault - Instructions Here
- Resize your Hard Drive and create new partitions using Disk Utility. Instructions Here
I was starting out with 2 Terabytes, so in the end my partitions looked like this. Note partition types don’t matter cause we’re gonna be re-formatting them shortly;
    APFS
    -> efi 400mb
    -> mac 970gb
    -> recovery -> 29.6gb

    NEW PARTITIONS
    -> 300mb - EFI - fat32
    -> 72GB - Swap - fat32
    -> 978gb - Main HDD -> fat32
- Now you want to burn the ISO you got from T2Linux to your USB stick. I use Etcher but you can use DD or whatever you want.
Get your wireless firmware and ICC Profile while still in MacOS
After making your partitions, you’re going to want to get the firmware from your wifi card on the macos side. You can do this following the steps here.
Then grab your ICC color profile if you want (I did not have to do this and screen looks great). This is pretty simple and can be done after installation. Open ColorSync Utility, find the current .icc color profile, and save the file elsewhere (usb or similar).
Begin the installation / setup
Now you can reboot and hit alt/option to view the bootloader options. boot from the archlinux live usb. It’s the yellow EFI one. Once you’re booted, run these commands to get everything setup.
first, set your timezone.
# timedatectl set-timezone America/Toronto
make your file systems. note your drive locations are certainly different. Check them with fdisk -l first.
    # mkfs.fat -F 32 /dev/nvme0n1p3
    # mkswap /dev/nvme0n1p5
    # mk.btrfs /dev/nvme0n1p4 -f
set the new efi partition to bootable
    # fdisk /dev/nvme0n1

    p
    find the new efi partition in our case /dev/nvme0n1p3
    t
    3
    1

    then write
    w
verify the new EFI partition is set to efi system, and boot flag is set (boot,esp)
# parted -l
now mount your filesystems
    # mount /dev/nvme0n1p4 /mnt
    # mkdir /mnt/boot/efi
    # mount /dev/nvme0n1p3 /mnt/boot/efi
    # swapon /dev/nvme0n1p5
install the basic stuff you need to complete install on m2 mac
# pacstrap -K /mnt base linux-t2 apple-t2-audio-config apple-bcm-firmware linux-firmware iwd grub efibootmgr nano
edit your software mirrors
    # nano /mnt/etc/pacman.conf

    [Redecorating-t2]
    Server = https://github.com/Redecorating/archlinux-t2-packages/releases/download/packages

    [arch-mact2]
    Server = https://mirror.funami.tech/arch-mact2/os/x86_64
    SigLevel = Never
copy over the network config from the live usb, to the hard drive so it works when you reboot.
# cp /etc/systemd/network/* /mnt/etc/systemd/network/
create your fstab file
# genfstab -U /mnt >> /mnt/etc/fstab
enter the archlinux chroot to complete installation
# arch-chroot /mnt
make the module load on boot that you’ll need
# echo apple-bce | sudo tee /etc/modules-load.d/t2.conf
setup your timezone (mine is eastern)
    # ln -sf /usr/share/zoneinfo/America/Toronto /etc/localtime
    # hwclock --systohc
generate locale info
    # locale-gen
    # nano /etc/locale.conf

    LANG=en_US.UTF-8
exit and save file then set the hostname
    # nano /etc/hostname

    myhostnamegoeshere
exit and save file then set the root password
    # passwd

    enter password
    enter password
edit the initcpio configuration
    # nano /etc/mkinitcpio.conf

    MODULES=()

    becomes

    MODULES=(apple-bce)
exit and save the file then create the configuration based on your edits
# mkinitcpio -P
setup GRUB bootloader
    # nano /etc/default/grub

    GRUB_CMDLINE_LINUX="quiet splash"

    becomes

    GRUB_CMDLINE_LINUX="quiet splash intel_iommu=on iommu=pt pcie_ports=compat"
exit and save your file then install GRUB
# grub-install --target=x86_64-efi --efi-directory=/boot/efi --bootloader-id=GRUB --removable
create GRUB configuration
# grub-mkconfig -o /boot/grub/grub.cfg
install python3 and sudo because we’ll need it later.
# pacman -S sudo python3 sudo
now we setup the wifi so it works, from the commands you ran earlier in macos;
    # sudo umount /dev/nvme0n1p1
    # sudo mkdir /tmp/apple-wifi-efi
    # sudo mount /dev/nvme0n1p1 /tmp/apple-wifi-efi
    # bash /tmp/apple-wifi-efi/firmware.sh
setup a boot logo for the macos boot screen
    # pacman -S wget
    # wget -O /tmp/archlinux.svg https://archlinux.org/logos/archlinux-icon-crystal-64.svg
    # pacman -S librsvg
    # rsvg-convert -w 128 -h 128 -o /tmp/archlogo.png /tmp/archlinux.svg
    # pacman -S libicns
    # png2icns /boot/efi/.VolumeIcon.icns /tmp/archlogo.png
    # rm /tmp/archlinux.svg
    # rm /tmp/archlinux.png
add a regular user and add to sudoers
    # useradd -m -g users -G wheel,storage,power -s /bin/bash username
    # passwd username
now modify your sudoers file to allow anyone in wheel to su
    # EDITOR=nano visudo

    uncomment
    %wheel ALL=(ALL) ALL
exit and save the file, now install iwd and xorg and kde
    # pacman -S iwd
    # pacman -S xorg plasma plasma-wayland-session kde-applications
enable networkmanager and sddm
    # systemctl enable sddm.service
    # systemctl enable NetworkManager.service
setup the touchbar
    # su flewid
    $ wget https://wiki.t2linux.org/tools/touchbar.sh
    $ chmod +x touchbar.sh
    $ sudo ./touchbar.sh
    $ exit
exit the arch-chroot environment
# exit
unmount your drives
    # umount /mnt/boot/efi
    # umount /mnt
now we reboot
# reboot
when rebooting, hold alt/control to access the boot screen, select the efi-boot of your arch linux install and hit enter.
once logged in as your user in KDE open Konsole terminal type this to install firefox
$ sudo pacman -S firefox
you’re basically good to go now with a default kde installation, with firefox.
the world is your oyster as of now.