Recently I decided to get a Plex client going on my CRT Sony television for the full retro experience using the original remote control, which meant I had to do some research and figure out exactly how all this would work in 2023, 20 years after it wasn’t very common.
You’ll need a few things to get started, below are some affiliate links to Amazon Canada, and Amazon USA to source some products should you need them. I do make a small comission off these, so by all means click all the links and buy your stuff! haha.
Most of the information I got from this excellent article but there were some gotchas that I found on other various forums or one-liners buried in Reddit posts, so hopefully this can save you some time doing it on your cool retro TV.
Here’s what you need
Note on the A/V cable - If you already have one laying around that’s 3.5mm -> 3 RCA (red, yellow, white) - it may not work, if that’s the case try flipping around the RED to go into the YELLOW port on your tv, and the YELLOW goes to RED. If it’s still not working, it’s probably the cable. Just get a proper AV cable (used to come with camcorders mostly) and you’ll be fine.
Amazon - Canada
- Raspberry Pi
- Flirc USB
- AV Video Cable for Pi
- SD Card for Pi
- Random USB Mouse/Keyboard
- Optional Power Supply w/ Switch
- CRT TV
- Remote Control for TV
- A Plex Server / Account
Amazon - USA
- Raspberry Pi
- Flirc USB
- AV Video Cable for Pi
- SD Card for Pi
- Random USB Mouse/Keyboard
- Optional Power Supply w/ Switch
- CRT TV
- Remote Control for TV
- A Plex Server / Account
Here’s how to do it on an Rpi 4B
First, on your desktop head over to Raspbaian, download latest 64 bit for your rpi 4
 $ wget https://downloads.raspberrypi.com/raspios_arm64/images/raspios_arm64-2023-10-10/2023-10-10-raspios-bookworm-arm64.img.xz
 $ unxz 2023-10-10-raspios-bookworm-arm64.img.xz
Then
ddit to your sd card or use the RPI Imager if you’re not comfortable with console commands. Make sure to change the device on your command line to match your sd-card.$ sudo dd if=2023-10-10-raspios-bookworm-arm64.img of=/dev/sdg bs=4M conv=fsync status=progressNow your drive should be mounted, if not, mount it and then enable ssh for later
$ sudo touch /mnt/boot/sshNext, boot it up on a regular monitor etc to do the initial configuration of wifi, timezone, character set, etc and all updates.
 $ sudo apt update
 $ sudo apt full-upgrade
 $ sudo raspi-config
Then ssh in and do the following
$ sudo apt install -y autoconf make automake build-essential gperf yasm gnutls-dev libv4l-dev checkinstall libtool libtool-bin libxslt1-dev libre2-9 libminizip1 libharfbuzz-dev libfreetype6-dev libfontconfig1-dev libx11-dev libcec-dev libxrandr-dev libvdpau-dev libva-dev mesa-common-dev libegl1-mesa-dev yasm libasound2-dev libpulse-dev libbluray-dev libdvdread-dev libcdio-paranoia-dev libsmbclient-dev libcdio-cdda-dev libjpeg-dev libluajit-5.1-dev libuchardet-dev zlib1g-dev libfribidi-dev git libgnutls28-dev libgl1-mesa-dev libgles2-mesa-dev libsdl2-dev cmake python3 python3-pip git mpv libmpv-devNow, download QT for 64 bit arm
$ wget https://files.pimylifeup.com/plexmediaplayer/qt5-opengl-dev-nobrcm_5.15.2_arm64.deb -O qt5-opengl-dev-nobrcm_5.15.2.debThen we need to install it
 $ sudo apt install -y ./qt5-opengl-dev-nobrcm_5.15.2.deb
 $ sudo apt --fix-broken install
 $ rm qt5-opengl-dev-nobrcm_5.15.2.deb
This is where it gets a bit tricky. We need to install some older versions of libraries so the plex binary will actually work. I didn’t look into this very much, it’s probably wrong, but, it works
™.$ wget http://ftp.us.debian.org/debian/pool/main/libw/libwebp/libwebp6_0.6.1-2.1+deb11u2_arm64.deb $ sudo dpkg -i libwebp6_0.6.1-2.1+deb11u2_arm64.deb $ rm libwebp6_0.6.1-2.1+deb11u2_arm64.deb $ wget http://security.debian.org/debian-security/pool/updates/main/libv/libvpx/libvpx6_1.9.0-1+deb11u2_arm64.deb $ sudo dpkg -i libvpx6_1.9.0-1+deb11u2_arm64.deb $ rm libvpx6_1.9.0-1+deb11u2_arm64.deb $ wget http://ftp.us.debian.org/debian/pool/main/i/icu/libicu67_67.1-7_arm64.deb $ sudo dpkg -i libicu67_67.1-7_arm64.deb $ rm libicu67_67.1-7_arm64.debNext we want to disable screen blanking for lightdm so it doesn’t blank the screen while you’re watching your favourite episode of Knight Rider.
# sudo nano /etc/lightdm/lightdm.confUnder the
[Seat:*]section make sure this line is there, or, add itxserver-command=X -s 0 dpmsThen exit and save the file.
The fun stuff begins now. Let’s enable composite output!
$ sudo nano /boot/config.txtYou want to make sure these lines are there, and/or configured appropriately if already exist
# this already existed, but i had to change it
dtoverlay=vc4-kms-v3d,composite=1

# for sdtv output
hdmi_ignore_hotplug=1
enable_tvout=1
# 4:3 output
sdtv_aspect=1
#480i
sdtv_mode=0
#240p
#sdtv_mode=16
Now, plug in your flirc-usb dongle, and now we want to install flirc
$ curl apt.flirc.tv/install.sh | sudo bashNow turn off/reboot your pi.
Unplug hdmi cables.
Plug in the composite cable to your tv. And the usb keyboard, and mouse to your PI.
Power the Pi on and it should now boot up to a X11 desktop (the default). If it doesn’t time to troubleshoot your /boot/config.txt which is outside the scope of this document!
Now open a terminal, and run this to compile Plex media player
$ cd ~
$ mkdir ~/pmp
$ cd ~/pmp
$ git clone git://github.com/plexinc/plex-media-player
$ cd plex-media-player/
$ mkdir build
$ cd build
$ cmake -DCMAKE_BUILD_TYPE=Debug -DQTROOT=/opt/Qt/5.15.2/ -DCMAKE_INSTALL_PREFIX=/usr/local/ ..
$ make -j$(nproc)
$ sudo make install
Once it compiles, from the same terminal you have open in X-Windows, start plex using this command which should start it full screen. Note this will disable the qt web engine so it doesn’t crash.
$ QTWEBENGINE_DISABLE_SANDBOX=1 plexmediaplayer --fullscreen --tvAfter Plex starts up, link it to your account per normal.
Next we want to make Plex start automatically on boot. Replace
$USERwith your username on your Pi.$ mkdir -p /home/$USER/.config/autostart $ nano /home/$USER/.config/autostart/plexmediaplayer.desktopPaste this into the file.
[Desktop Entry]
Type=Application
Name=Plex Media Player
Exec=env QTWEBENGINE_DISABLE_SANDBOX=1 plexmediaplayer --fullscreen --tv
Now we’ll make sure X11 starts automatically and the user is auto logged in.
$ sudo raspi-configThen, go to
System Options > Boot / Auto Login > Desktop AutologinEnable that option, then exit and save the configuration tool
Reboot and you should be presented with the plex screen after a few seconds of seeing the boot information, then x11 desktop.
$ sudo rebootNow once you’ve verified that everything is working as expected, it’s time to configure your remote
Open a terminal and type
$ sudo FlircIf there’s any firmware updates, apply them and wait a little while. The console may show some errors, but basically wait until you see the firmware command complete and it should say
OK.Now put some thought into what buttons you want to use on your remote. I noticed with mine the buttons that ‘make sense’ - ie: back for back, actually popped up stuff on the screen of the tv (settings) - so I had to pick other buttons on the remote to use for ’enter’ and ‘back’ but not a big deal.
Then in the Flirc app, click on the
left/right/down/up/enter/back buttonsrespectively, and, then click the corresponding button on your remote. For example, clicklefton the screen, it will flash green, then clicklefton your remote, and the screen will stop flashing. Repeat forrighton the screen, it’ll flash green, then clickrighton the remote, then the button on screen will stop flashing. Repeat for all keys then you’re done. Note, on my screen, it was hard to see thebackbutton, so I had to do some finnessing so I could see it, then configure it as well.Go to
File > Save configurationand save the config file somewhere just so you have it just in-case.At this point, I rebooted my Pi one more time just to make sure everything booted up properly into Plex and I was able to switch videos etc with the remote, and volume was controllable on the tv etc.
Then as a final step, I exited out of Plex, opened another terminal and then installed alsa-mixer and adjusted the volume and saved the configuration to match where I wanted levels to be (basically 1 line below red-lining).
$ sudo apt install alsa-utils libasound2-plugins
$ alsamixer
Adjust the volume to where it makes sense for you, then hit
escapeto exit. This should remain across reboots as well.
In the future I’d like to figure out how to control the power on the Pi and turn it off when I turn the TV off, but for now flipping the manual power switch on my cable is working fine.
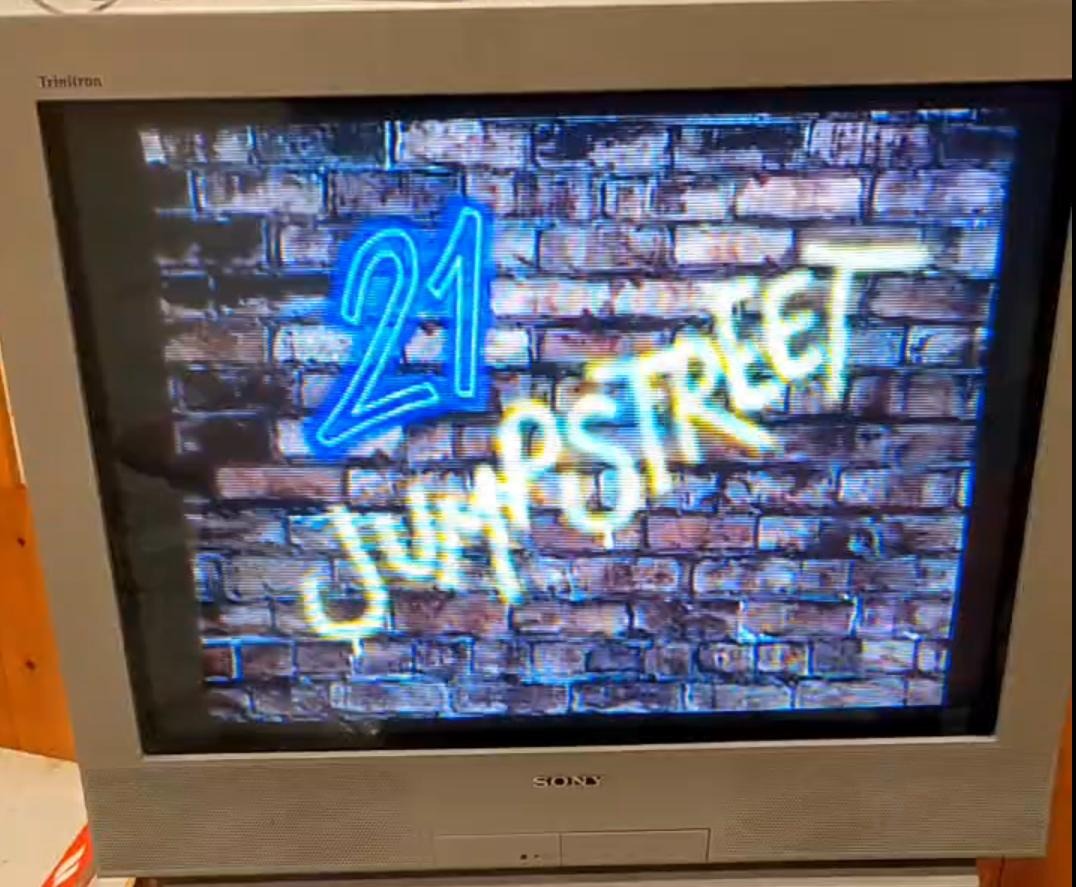
Anyway, now you have an old-ass copy of Plex client on your Pi so you can watch old shows how they were meant to be. I tried 240p and 480i and I prefer 480i, but if you’re also emulating games from the same Pi you’d probably want 240p.